Create a Redis Cloud database with the Vercel integration
Shows how to create a Redis Cloud database with Vercel integration.
| Redis Cloud |
|---|
The Redis Cloud Vercel integration lets you create a new Redis database from your Vercel account and connect it to your Vercel project(s).
Create database
-
Log in to your Vercel account (or create a new one).
-
Navigate to the Storage tab. Under Marketplace Database Providers, find Redis and select Create.

-
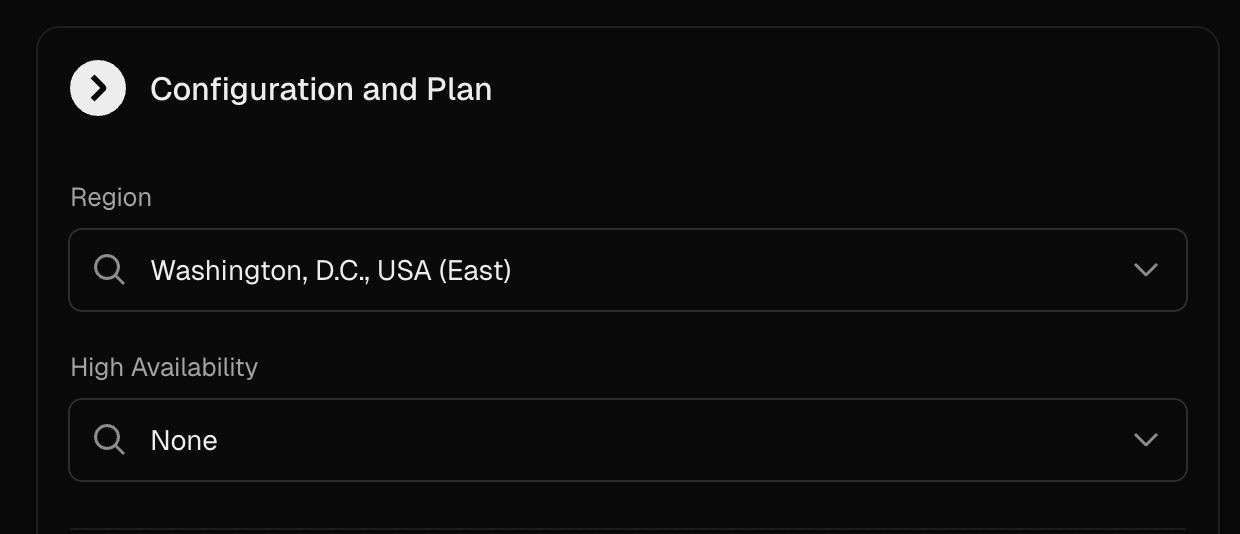
In the Install integration dialog under Configuration and plan, select your region and high availability settings.
-
Choose a plan and select Continue.
-
Enter your database name or use the automatically generated name.
-
Select Create.
Connect to your database
After creation, you will see your database details. After provisioning is complete, the status will change from Initializing to Available (you may need to refresh your browser).

You can use the connection string shown under Quickstart to connect to your database.
Link database to your project
- Navigate to the Storage tab.
- Find your new database in the list of your team's databases.
- Select Connect Project.
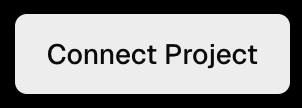
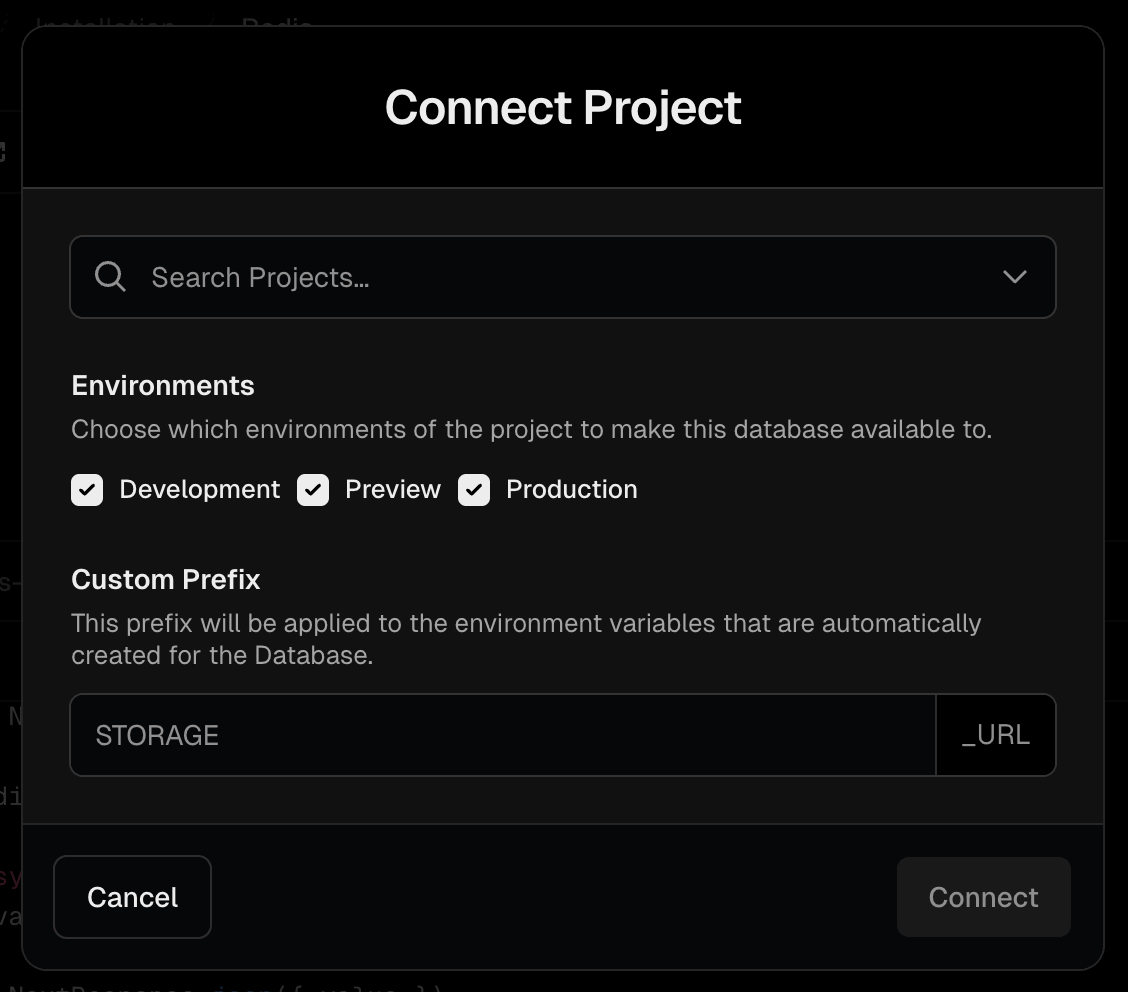
- Choose your project and environments and select Connect.
Manage your database
From the database details page, you can make edits to your database under Settings.
More configuration options are coming soon, including plan changes, multi-zone high availability, and region selection.
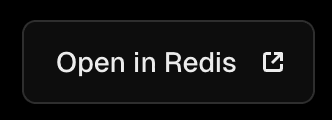
Configure from Redis Cloud
You can also edit some configuration options on the Redis Cloud console.
From the database detail page, select Open in Redis.
Your Redis Cloud account is linked to your Vercel account. All your team's Redis databases will be listed under Databases in Redis Cloud.
Select your new database to make configuration changes such as passwords or the eviction policy.
no eviction for new databases. You can change this by editing the database details.